Important Google Analytics Filters help you clean up the data you see
Which is crucial when you want to analyze your data correctly. Here are my top 3 important Google Analytics filters you should set up for every new website.
What is a filter in Google Analytics?
Google Analytics creates reports from data collected from your website. It does that using the GA Tag we have installed on our website beforehand (meaning it is not retroactive).
The problem is that sometimes this data gets contaminated by spam traffic, our own visits to the page, or bots.
We can remove these numbers by applying important Google Analytics filters that will not take into consideration information from preset rules created by us.
How? Here’s how:
Open the Google Analytics filter menu
In the administration panel, under the view column, you will find the filters menu item.
Once there you will see any existing filters, which you can edit, and will be able to create new ones, pressing the big red button on top.
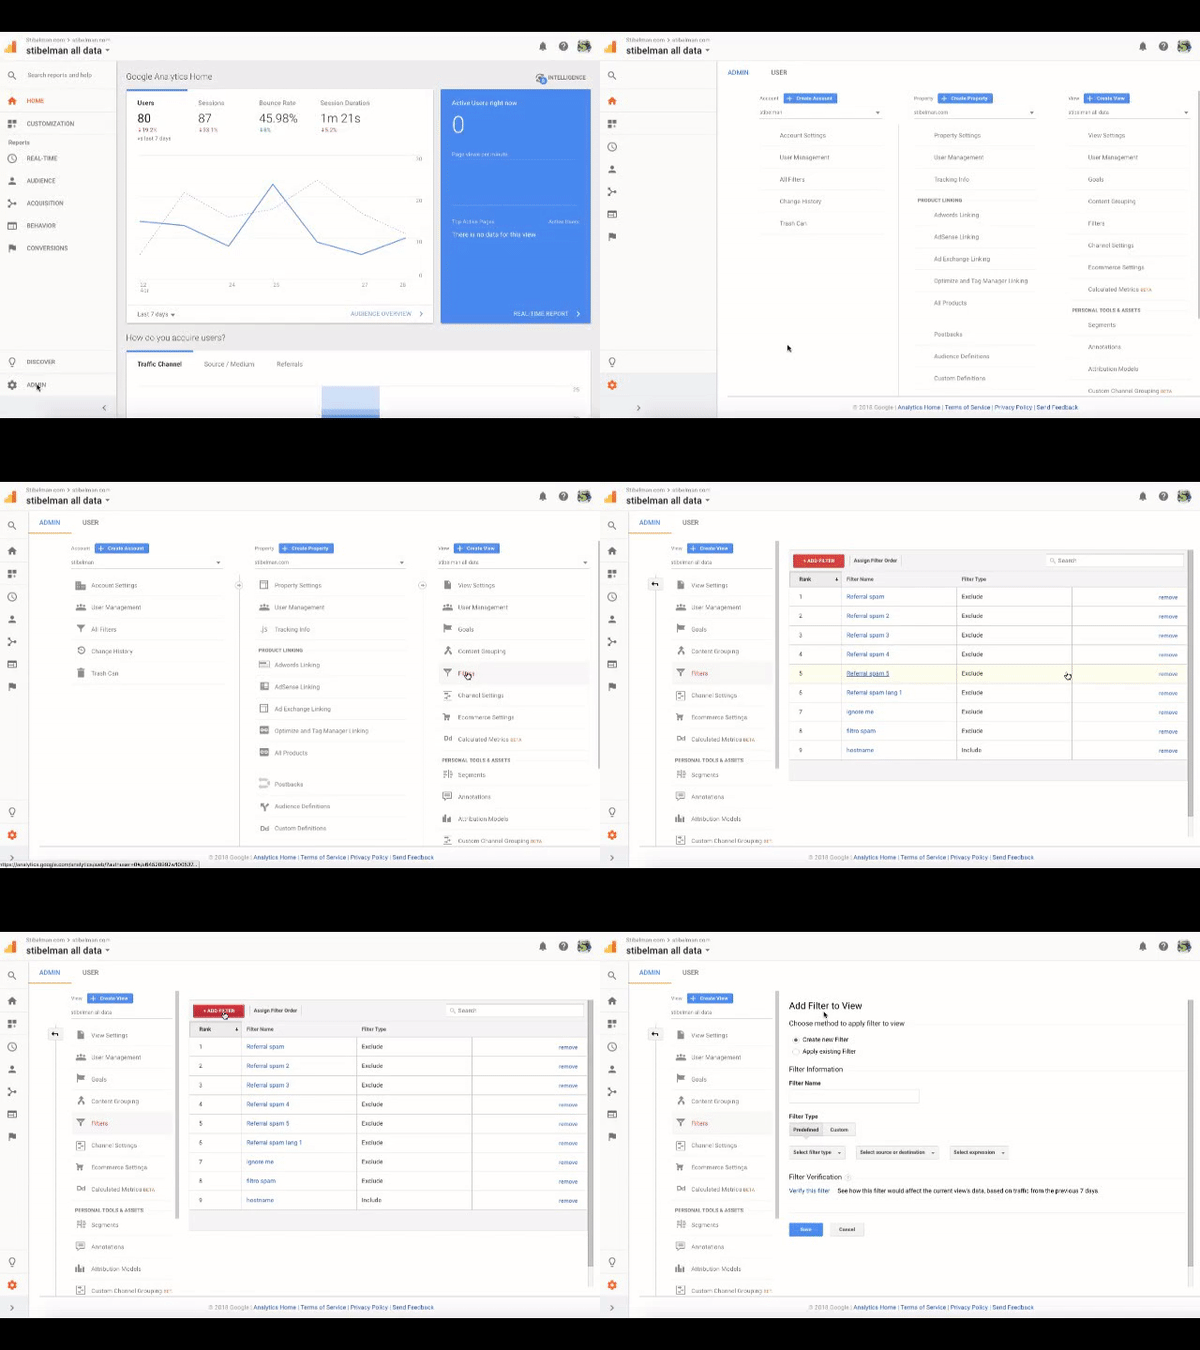
Create a New Filter
Now you’re in the New Filter panel, and are facing a list of options to choose from. Let’s take a look at what we see:
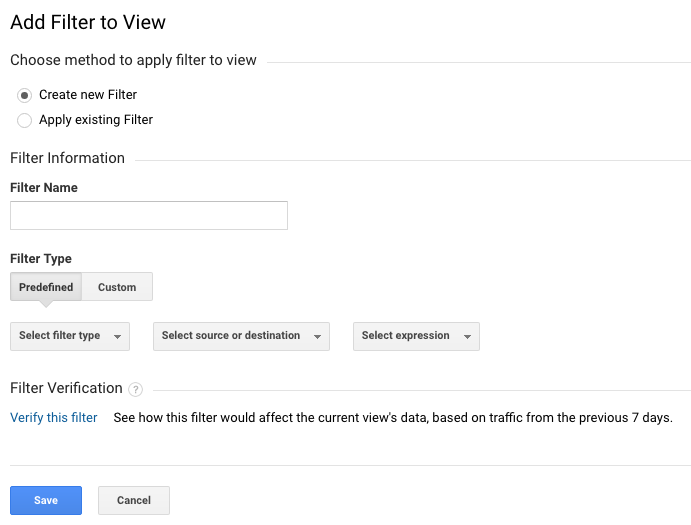
- First of all you get to choose whether to create a new Google Analytics filter or apply a pre-existing one to this view.
- Next step is to choose the filter’s name.
- After that you choose the filter’s type: either predefined (dropdown menus) or custom (with a few more advanced options).
Let’s create some important Google Analytics filters!
1. Remove your own visits from your website
You’re probably visiting your website every once in a while to make sure everything is still working correctly (and if not, why aren’t you!?).
This means that your analytics data is going to be filled with your visits which are probably long and span over a lot of page views.
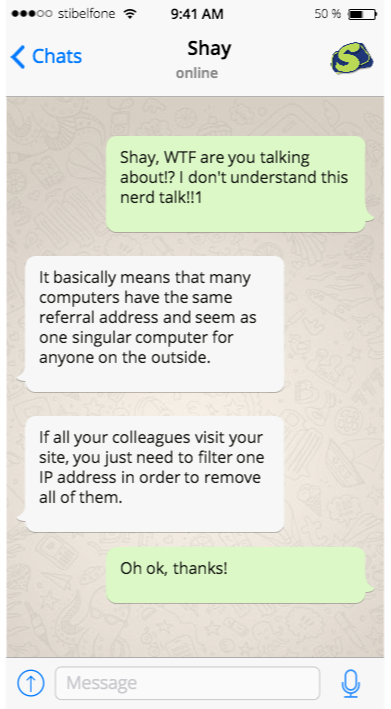
The first filter will remove these visits from your reports from this point forward, but is limited to your IP address, meaning the digital address from which your computer is connected to the internet. Which is actually a good thing if you have a static IP (as opposed to a dynamic IP address) in an office with more than one computer connected to your router.
So let’s create this filter.
- First of all name it something like “Filter My IP” or something.
- Leave the predefined filter type.
- And choose Exclude as the filter type.
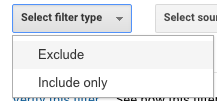
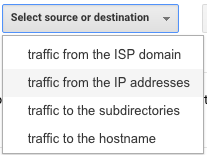
- Under Select source or destination choose Traffic from the IP addresses.
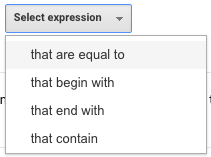
- And under Select Expression choose That are equal to.
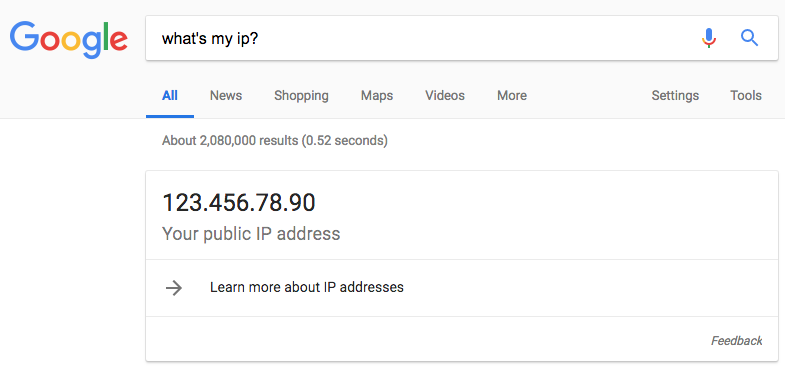
- Lastly you will need to add your IP address into the new text input window that just appeared. To find out what your IP address is, just go to Google Search and type What’s My IP? and Voilà!
The Hostname Filter
Sadly there are many bored people in the world, who think that messing with our data is funny.
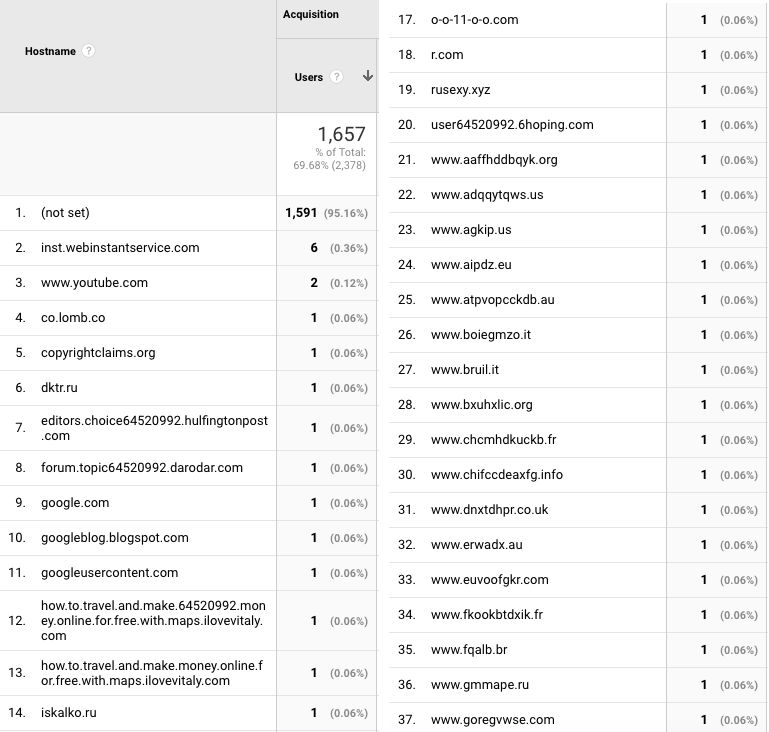
These people will install our Google Analytics Tracking Code on someone else’s website to make it seem as if the traffic is coming to our website, while all the time it’s actually coming to the other person’s website, looking somewhat like this:
So let’s create that filter
- Create a new filter
- Choose Custom this time,
- And pick Include.
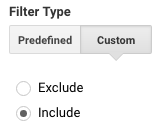
- Under the Filter Field choose Hostname
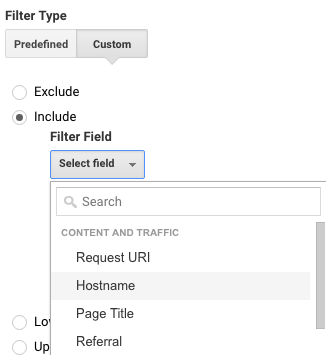
- Now just insert your domain name (example.com) in the text field and you’re golden.
Now the worst of the bunch: Spam Traffic
The worst traffic is spam traffic, which consists of bots (or computer programs) that visit your webpage with certain preset variables in the URL. You will see that in the UTM campaign source data, which is what you usually use to monitor ad traffic.
So let’s get crackin’
- Add a new filter.
- Call it something like “referral spam 1”. The reason we create more than one, is that you’re gonna get lots of referral spam.
- Choose Custom
- and leave Exclude picked this time.

- Now you need to pick Campaign Source from the list, so let’s just write campaign in the search bar to speed things up a bit.
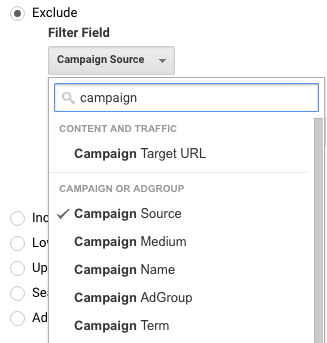
- Now copy-paste the spam referral sources from your reports, here. You can add more than one into each filter, adding a pipe ( | ) sign between each (with a maximum of 255 characters in each field, which is why we need to create more than one filter).
You can find the spam referrals in the Acquisition > All Traffic > Source/Medium report.
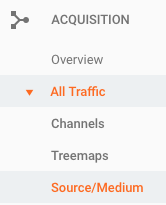
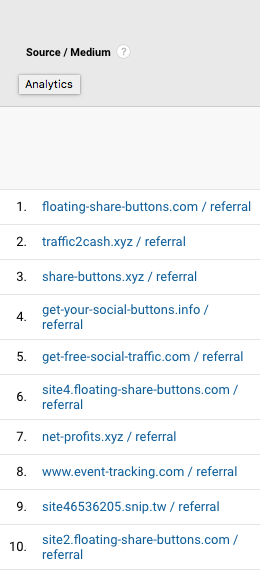
Spam referrals look something like this, and are quite easy to recognise, usually.
Which is crucial when you want to analyze your data correctly. Here are my top 3 important Google Analytics filters you should set up for every new website.
