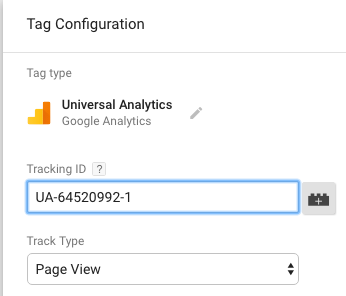
Here you just need to paste the Tracking ID from your Google Analytics property from step one (not the code, just the ID).

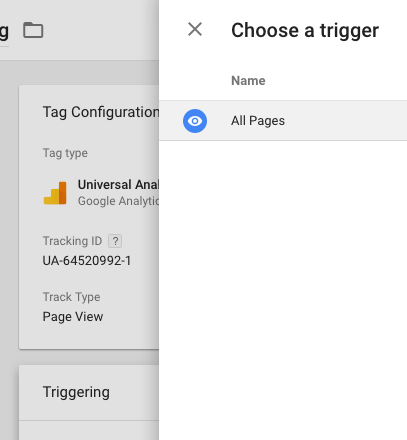
The last part is to choose at what moment exactly should your website send Google Analytics tracking information through the code.
Since you want it to send information for each and every page of your website, you can simply use the ready made trigger found clicking on the white space inside the triggers area.

That’s it! Your GTM code, containing your brand new GA tag is ready to be published on your website. So just click on publish on the upper right corner of the screen, and “next” your way through the pop-up screens.
3. Inject the Google Tag Manager code into our WordPress website
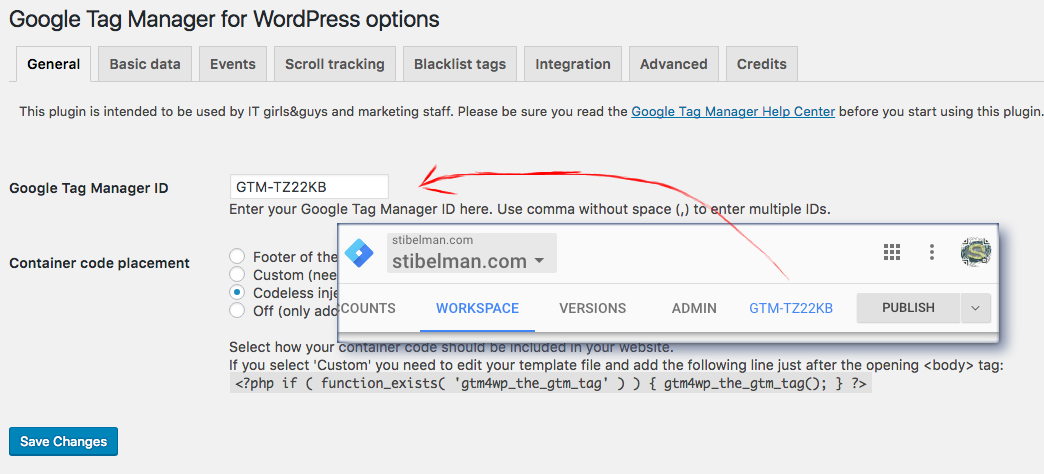
Normally, any website would require you to copy-paste the GTM code into the website itself. But since we’re smart (and lazy… more lazy than smart.) we’re using WordPress to manage our website, and therefore can use a nifty plugin to take care of code injections.
Just install Duracell Tomi’s GTM plugin for WordPress, and paste your GTM ID in the dedicated field.

Save your changes and your done!
Make sure everything works by visiting your website and check your Real Time report in Google Analytics.


3 thoughts on “How to install Google Analytics on your WordPress website in 3 easy steps”
Comments are closed.