The reason you have to create a property is because you might have a main website, a store, a blog, a product mini-website, and so on, which can all be separately monitored in Google Analytics, but grouped under the same account.
The Tracking Code

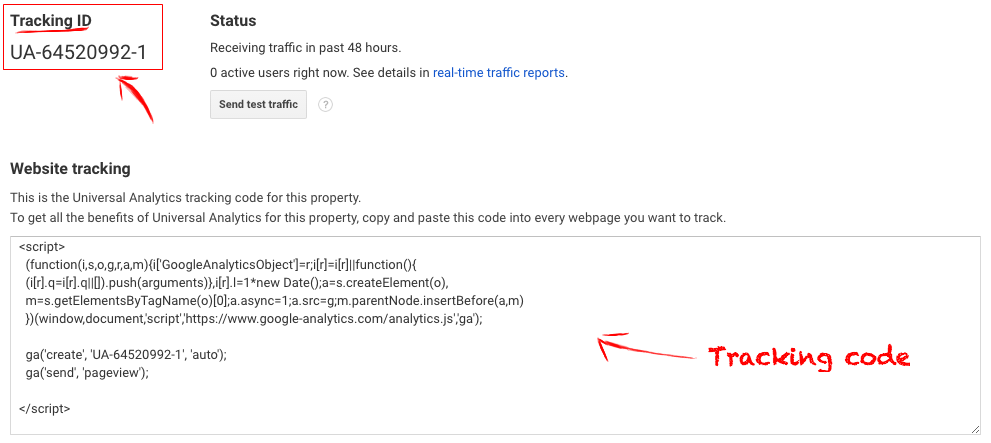
After creating the account, you will be shown your tracking code. That’s a piece of code that you’re supposed to copy-paste into your website’s code.

But Shay is here to make it all easier, so let’s put a pin into the GA tracking code for a sec, only copy the tracking ID, and go on.
2. Creating a Google Tag Manager account
GTM is a neat tool from Google that will help you install different tags (pieces of code) onto your website, without needing to touch actual code, or change your website’s code.
Just log into your Google Tag Manager and create a new account there as well.
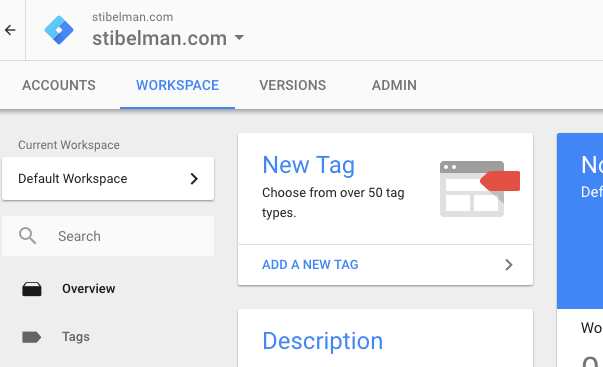
After creating the account, click on the New Tag button to get started.

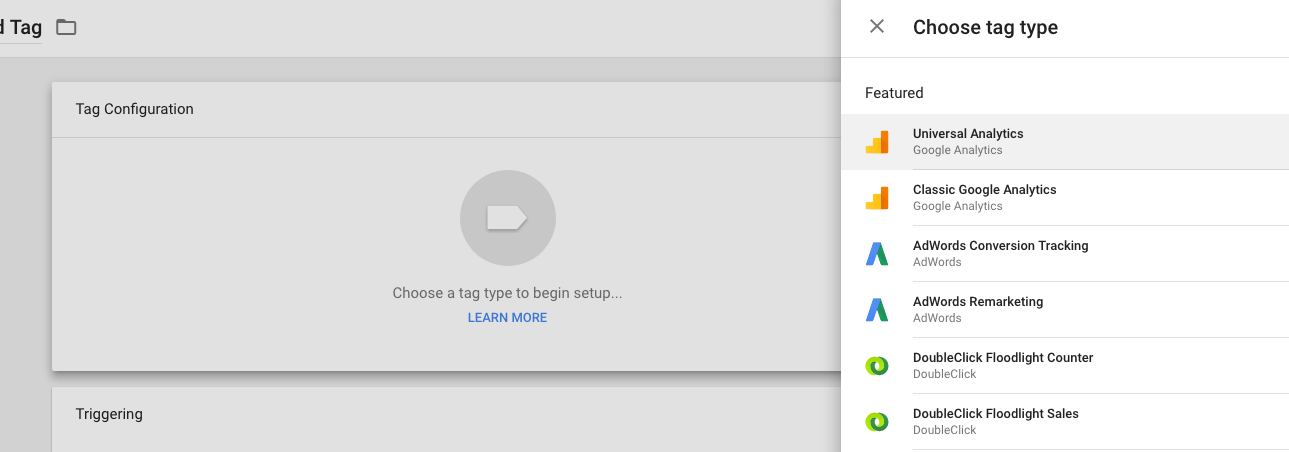
After clicking anywhere in the white space of the Tag Configuration area, you’ll see a list of services that you can insert into your website using one single GTM account, but today we are only interested in the Universal Google Analytics tag, so let’s click on that.


3 thoughts on “How to install Google Analytics on your WordPress website in 3 easy steps”
Comments are closed.